
Warre Hive Management
After using Langstroth, horizontal top bar and Warre hives, we love Warre hives for their simplicity, ease of management and success. We’ve had more success with Warre hives than any other hive design, and we don’t think this is by chance.

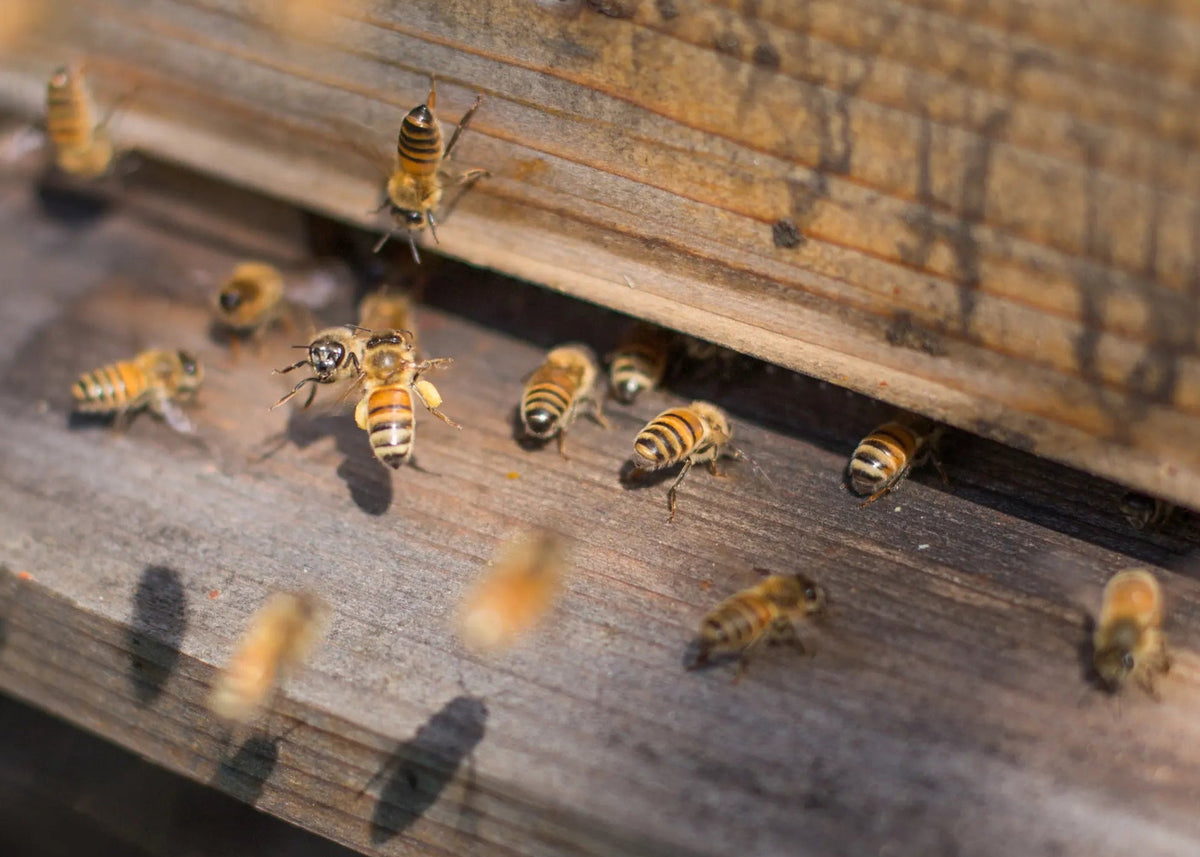
Bee Installation
To install a bee package in a new Warre hive, start with 2 boxes, leaving any extras for holding a feeder. Set the the bottom up box with bars in place, and the top without. Place the queen cage on the bars of the bottom box and remove the cap exposing the hard candy. Shake the worker bees into the top box getting as many into the hive as possible.
Then, lean the package near the entrance of the hive to encourage stragglers to move in. Replace the bars in the top box, then place the separator canvas, quilt box, and top it with the roof. Swarms can be installed with the same box configuration, without needing to place the queen cage.
Maintenance Hive Checks
Warre hives were designed to require minimal to no maintenance. Warre simply wanted beekeepers to add empty boxes to the bottom of the hive in the spring and harvest full boxes of honey off the top of the hive in the fall. Thus, Warre hives are meant to be managed by the box rather than by the comb.
Warre hives are meant to be expanded with the nadiring practice, by adding empty boxes to the bottom of the hive. The bees will generally build from the top down, and as their bottom most box becomes 80% full, an empty box can be added underneath. Then, excess honey will be harvested off the top of the hive.
Over the next couple months after installing your bees, monitor their growth by tilting the bottom box forward. If you see the bottom box filling with comb you can add another box or two accordingly. As fall arrives, check the bottom boxes for comb – if they are empty you can remove them until the colony is down to 2-3 boxes.
Note: Bees will attach comb to the side walls of hive boxes since they do not have a 4 sided frame. This requires a sharp L-shaped tool to detach the comb. Our ultimate hive tools were designed for this purpose. They may also connect the comb from a top box to the top bars of the box below. This must be disconnected before lifting boxes off one another to avoid comb breakage, and can be done by cracking the propolis seal on all 4 corners, and then running a piano wire or guitar string between the boxes.
Honey Harvest
If you have been managing your hive by the box, rather than the individual combs, you will want to harvest by the box as well. This will require clearing bees out of the box to be harvested. You can do this by using a bee escape board. Place the board between the honey supers and the boxes you'd like to leave for the bees. Wait a couple days, especially as nights are getting cooler, and the bees will gradually move out of the supers, unable to find their way back up through the escape!
You can then remove the honey super from the hive and take out the top bars. Cut the comb from the top bars (our Ultimate Hive Tool is great for this), crush it up and strain using a mesh bag. Our Bucket Strainer System streamlines this process for a simple honey harvest.
Note: We don’t recommend harvesting any honey in the first season, instead you should leave all of it for the bees and hope for a surplus next season!
Overwintering
As winter approaches you will want to check that the colony or colonies have sufficient stores – 30-50lbs here in Portland, Oregon. If you have multiple colonies you can spread the surplus around to ensure all colonies have enough. Otherwise, depending on your beekeeping philosophy you can feed 2-1 sugar syrup (We rarely feed in our own apiary, even if a colony is low on stores). As fall arrives, check the bottom boxes for comb – if they are empty you can remove them until the colony is down to 2-3 boxes. Since bees will be focusing their energy on keeping the hive warm, the entrance could become more vulnerable to pests. A mouse guard will prevent larger pests while still allowing bees out for cleansing flights.
Warre hives come standard with a quilt box that regulates heat and humidity levels within the hive. The box comes with absorbant cedar toe that you will want to check periodically to ensure it's dry. If you feel any moisture it's a good idea to replace it. Finally, since the boxes are square, you can turn every other box so that the top bars are perpindicular to the box directly above or below. This will reduce the space for cold drafts to travel through the hive.